
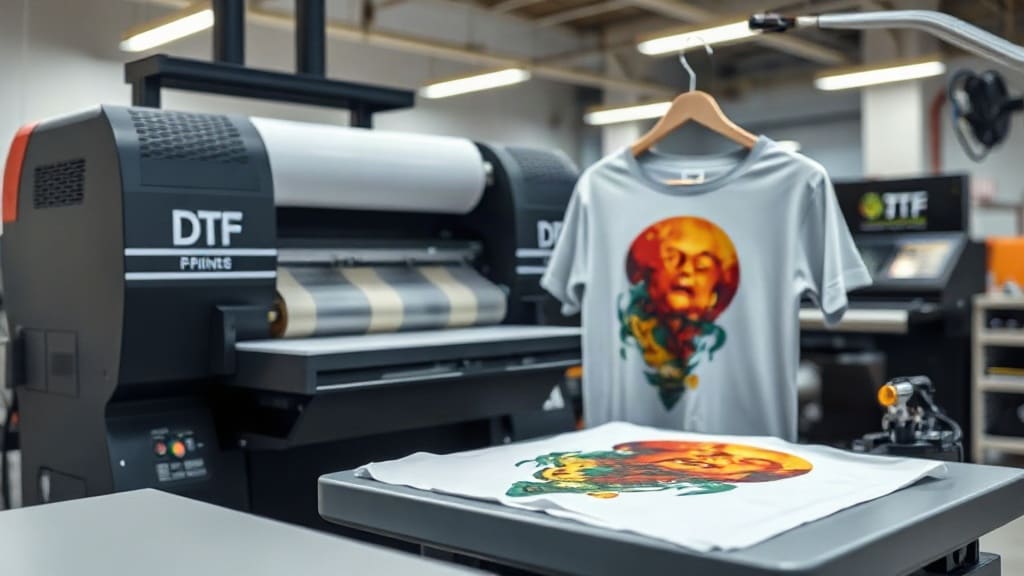
If you've ever wondered how those vibrant, detailed designs end up on t-shirts, hoodies, or even tote bags, DTF printing might be the answer. Direct-to-film, or DTF, is a printing method that has taken the custom apparel world by storm. Unlike traditional screen printing or heat transfer vinyl, DTF offers a unique blend of durability, color vibrancy, and versatility. In this guide, we'll break down everything you need to know about how direct-to-film transfers work, what equipment you'll need, and how to get started.
What Is DTF Printing?
DTF printing is a process where a design is printed onto a special PET film using a printer equipped with white ink and CMYK colors. The printed film is then coated with a hot-melt adhesive powder and cured. Finally, the film is placed onto the garment and heat-pressed, transferring the design. The result is a soft, stretchy, and highly detailed print that can be applied to many different fabrics.
How Does Direct-to-Film Differ from Other Methods?
Compared to screen printing, which requires separate screens for each color, DTF allows full-color designs to be printed in one pass. Heat transfer vinyl (HTV) is great for simple text and shapes, but it often can't replicate complex, photorealistic images. DTF bridges that gap, offering the detail of digital printing with the durability of plastisol transfers.
The DTF Printing Process: Step by Step
Let's walk through the entire process from digital file to finished garment. Whether you're a hobbyist or looking to start a business, understanding each step is crucial.
Step 1: Design Preparation
Your journey begins with a digital design. Using software like Photoshop or Illustrator, you create or prepare artwork. Key considerations include:
- Ensure the design is high resolution (at least 300 dpi) to avoid pixelation.
- Set up the color profile correctly, typically CMYK + White.
- Mirror the design horizontally because it will be transferred face down.
Step 2: Printing the Film
Next, you load the PET film into a DTF printer. This is a specialized inkjet printer that uses CMYK inks plus a white ink station. The printer lays down the colors, then adds a layer of white ink underneath. This white layer is essential for making the design opaque, especially on dark garments.
After printing, the film needs to be dried. Some printers have an integrated dryer, while others require a separate drying unit. Proper drying prevents the inks from smudging when handling.
Step 3: Applying Adhesive Powder
Once the print is dry, you shake a hot-melt adhesive powder over the wet ink. This powder adheres to the ink but not to the bare film. The excess powder is then gently removed, leaving a tacky surface. This powder is what will bond the design to the fabric.
Step 4: Curing the Powder
The powdered film is then passed through a curing oven. The heat melts the powder, fusing it to the ink and creating a durable adhesive layer. This step is crucial for washability.
Step 5: Heat Press Transfer
Finally, you place the film onto the garment with the design facing down. Using a heat press, you apply pressure and heat for a specific time. The adhesive melts, and the design is permanently transferred. After cooling, you peel the film away, revealing a soft, vibrant print.
Essential DTF Equipment
To get started with DTF, you'll need a few key pieces of equipment. Here's a rundown of what you'll need and what to look for.
DTF Printer
The heart of the operation is the printer itself. You can either convert an existing inkjet printer (like an Epson EcoTank) or purchase a purpose-built DTF printer. Look for features like:
- White ink circulation system to prevent settling.
- Durable print heads (Epson DX5 or XP600 are common).
- Automatic film feeder and take-up system.
Heat Press or Curing Oven
You'll need a heat press for the final transfer, and a curing oven or dryer for the powder. Some setups use a combined printer and dryer unit, but separate components offer more flexibility.
PET Film and Adhesive Powder
You'll need rolls of PET film specifically designed for DTF, and hot-melt adhesive powder in the appropriate mesh size. These consumables are readily available from suppliers.
Software
RIP (Raster Image Processor) software is necessary to manage color separation and print settings. Many DTF printers come with basic RIP software, but you may need to invest in more advanced options for optimal color matching.
Tips for Successful DTF Transfers
Now that you understand the basics, let's dive into some practical tips that can elevate your DTF results.
Choose the Right Fabrics
DTF works best on cotton, polyester, and blends. However, it can also be applied to materials like nylon or leather with adjustments. Always test on a sample to ensure adhesion.
Calibrate Your Press Settings
Temperature, time, and pressure are critical. A typical starting point is 320°F for 15 seconds at medium to firm pressure. But always follow the manufacturer's recommendations for your specific film and powder.
Handle Film Carefully
Static electricity can cause film to stick or shift. Use anti-static devices or ensure proper grounding in your workspace.
Test, Test, Test
Before running a large batch, do a small test. This helps you catch issues with color, placement, or temperature.
Common DTF Challenges and Solutions
Like any printing method, DTF has its quirks. Here are some common issues and how to troubleshoot them.
Poor Adhesion
If the design peels off after washing, it's often due to insufficient powder or incorrect curing. Ensure the powder covers the entire design and that you cure at the recommended temperature and time.
Color Fading or Dullness
This may be caused by low ink density or improper white underbase. Make sure your print settings are optimized for high ink saturation.
Film Jamming in Printer
Film jams can happen if the film is not loaded properly or if the printer's path is dirty. Regularly clean your printer and use high-quality film.
Frequently Asked Questions
Is DTF printing expensive to start?
The startup cost can range from $3,000 to $10,000 or more, depending on the printer and accessories. However, the running costs are relatively low, making it accessible for small businesses.
How long do DTF transfers last?
With proper application, DTF prints can withstand over 50 washes without significant fading or cracking. The durability is comparable to screen printing.
Can DTF be used on dark fabrics?
Absolutely! The white ink underbase ensures the design remains vibrant on dark colors, which is a major advantage over other transfer methods.
What's the difference between DTF and DTG (direct-to-garment)?
DTG prints directly onto the garment, while DTF prints onto a film first. DTF offers more flexibility in terms of fabric types and can be stored for later use, making it suitable for on-demand production.
Conclusion
DTF printing has revolutionized the custom apparel industry by offering a cost-effective, high-quality solution for producing vibrant designs on a wide range of fabrics. Whether you're a seasoned printer or just starting, understanding the process is the first step to mastering it. With the right equipment and a bit of practice, you'll be creating stunning DTF transfers that your customers will love.