
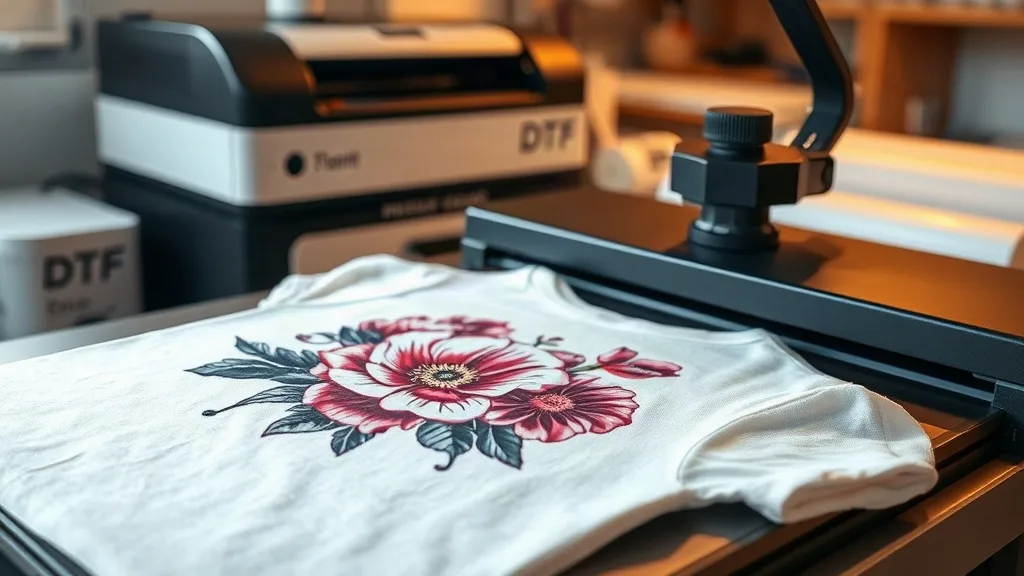
If you've been exploring custom apparel printing, you've likely encountered dtf as a game-changing technology. Unlike traditional methods that limit you to certain fabrics or require costly setup, DTF (Direct to Film) opens up a world of possibilities for vibrant, durable prints on almost any material. Whether you're a hobbyist looking to personalize gifts or a small business owner aiming to offer custom tees, understanding DTF transfers can elevate your projects and streamline your workflow. In this guide, we'll walk you through the entire process, from creating your design to pressing it onto a garment, and share insider tips to achieve professional results every time.
What Are DTF Transfers?
DTF transfers are a type of heat-applied graphic that starts as a digital print on a special film. The design is printed using water-based pigments and a hot-melt adhesive powder, then cured and ready to be pressed onto fabric. When you apply heat and pressure, the adhesive bonds with the fibers, creating a soft, stretchable, and long-lasting print. This method stands out because it doesn't require pre-treatment of the fabric (unlike DTG) and works on a wide range of materials, including cotton, polyester, nylon, leather, and even some blends that traditionally reject other printing techniques.
Why Choose DTF Transfers Over Other Methods?
If you're comparing printing options, DTF offers several compelling advantages. For starters, there's no color limitation; you can print full-color, photorealistic images with fine details and gradients without worrying about color matching or screen setup fees. The process is also incredibly efficient for small to medium runs, making it ideal for on-demand production. Plus, DTF transfers are known for their durability and elasticity, meaning they won't crack or peel easily, even after repeated washing. And because no weeding is required (unlike vinyl), you save time and reduce waste.
How DTF Transfers Are Made
Creating a DTF transfer involves a few key steps that ensure the final print adheres properly and looks stunning. Here's a breakdown of the production process:
- Design Preparation: Your artwork is prepared digitally, ensuring it's mirrored (unless using a printer that handles it automatically) and sized appropriately.
- Printing: A specialized DTF printer lays down the design using CMYK and white inks onto a PET film. The white ink acts as a base, allowing the colors to pop on dark fabrics.
- Powdering: While the ink is still wet, a hot-melt adhesive powder is applied evenly over the print. Excess powder is shaken off.
- Curing: The film passes through a curing oven or heat press to melt the powder, creating a dry, tacky surface that will bond with the fabric.
Once cured, the transfer is ready to be stored or immediately applied. This streamlined process means you can produce transfers in-house without relying on external services, giving you full control over quality and turnaround.
Applying DTF Transfers: Step-by-Step
Getting a flawless application requires attention to detail. Follow these steps to ensure your transfers adhere perfectly and last:
1. Prepare Your Workspace
Set your heat press to the recommended temperature, typically around 300°F to 325°F (150°C to 160°C). Pre-press the garment for a few seconds to remove moisture and wrinkles. This step is crucial for a smooth, even bond.
2. Position the Transfer
Place the DTF transfer onto the garment with the printed side facing up. If your design includes white ink, the film will have a matte appearance on the printed side. Ensure it's exactly where you want it; once pressed, repositioning is difficult.
3. Press with Medium Pressure
Apply medium to firm pressure for 10-15 seconds. Too little pressure and the adhesive won't penetrate; too much and the design may spread. Use a heat press rather than an iron for consistent results.
4. Peel Cool or Hot?
Most DTF transfers are designed for a cold peel, meaning you wait until the film cools completely before peeling it off. This allows the adhesive to set and prevents the design from stretching. However, always check the instructions from your transfer supplier, as some may require a warm peel.
5. Post-Press for Extra Durability
For added wash resistance, cover the printed area with a Teflon sheet or parchment paper and press again for 5-10 seconds. This step ensures the adhesive fully cures and the edges are sealed.
Common Challenges and How to Overcome Them
Even with the best practices, you might encounter issues. Here are solutions to frequent problems:
- Transfer not sticking: Increase pressure or temperature slightly, and ensure the garment is pre-pressed. Some fabrics like nylon require lower temperatures to avoid melting.
- Design cracking: This often happens if the transfer is stretched during peeling or if the adhesive wasn't fully cured. Try a cold peel and post-press.
- Color fading: Use high-quality transfers and follow washing instructions (inside out, cold water, no bleach).
- Film peeling off during wear: This indicates insufficient adhesion. Double-check your press settings and consider using a adhesive powder specifically for DTF.
Choosing the Right DTF Transfers for Your Project
Not all DTF transfers are created equal. When sourcing transfers, consider the following factors:
- Ink Quality: Look for transfers made with vibrant, eco-friendly water-based inks that resist fading.
- Adhesive Strength: A strong hot-melt adhesive ensures longevity, especially on stretchy fabrics.
- Film Thickness: Thinner films tend to feel softer on the garment, but they must still be durable.
- White Ink Opacity: For dark garments, a dense white base is essential for bright colors.
- Supplier Reputation: Choose a trusted supplier like DTF Dazzle that offers consistent quality and support.
By selecting high-quality dtf transfers, you'll save time troubleshooting and deliver superior results to your customers.
DTF Transfers vs. Other Printing Methods
To help you decide if DTF is right for you, here's a quick comparison:
- DTF vs. DTG: DTG requires pre-treatment and works best on 100% cotton. DTF works on almost any fabric and doesn't need pre-treatment, but DTG may have a softer feel on cotton.
- DTF vs. Vinyl: Vinyl is limited to single colors and requires weeding. DTF supports full-color designs with no weeding, making it faster for complex artwork.
- DTF vs. Screen Printing: Screen printing is cost-effective for large orders but has setup costs and color limitations. DTF is ideal for small batches and detailed designs.
- DTF vs. Sublimation: Sublimation only works on polyester and light-colored fabrics. DTF adheres to cotton and dark fabrics, offering greater versatility.
Tips for Long-Lasting DTF Prints
To ensure your DTF prints survive countless washes, follow these care guidelines:
- Wait at least 24 hours before washing to allow the adhesive to fully cure.
- Turn the garment inside out before washing.
- Use cold water and a gentle cycle.
- Avoid bleach and fabric softeners, which can degrade the adhesive.
- Tumble dry on low or hang dry.
- If ironing, do not iron directly on the print; use a cloth barrier.
Frequently Asked Questions
Can I use DTF transfers on 100% polyester?
Yes, DTF transfers work well on polyester, but you should lower the pressing temperature to around 280°F (140°C) to prevent the fabric from melting or the transfer from over-curing. Always test on a scrap piece first.
How do I store unused DTF transfers?
Keep them in a cool, dry place away from direct sunlight. Place them in a sealed bag or container to prevent dust and moisture from affecting the adhesive. Properly stored transfers can last for several months.
Do I need a special printer to make DTF transfers?
Yes, DTF printing requires a dedicated DTF printer that uses pigment inks and a white ink channel, along with a powder shaker and curing oven. However, if you're not ready to invest in equipment, you can purchase pre-made transfers from suppliers.
What fabrics should I avoid with DTF?
DTF adheres to most fabrics, but it may not work well on highly textured materials like corduroy or loose knits, as the adhesive needs a smooth surface to bond. Also, avoid fabrics with a heavy water-repellent coating.
How long does the application process take?
The pressing itself takes only 10-15 seconds, plus cooling time for peeling. Including setup, you can complete a garment in under a minute once you're familiar with the process.
Final Thoughts
DTF transfers have revolutionized custom apparel by combining versatility, durability, and ease of use. Whether you're printing a single shirt for yourself or fulfilling orders for customers, mastering DTF can open up new creative and business opportunities. Remember to source quality transfers, follow the application steps carefully, and care for the prints properly to enjoy long-lasting results. With a little practice, you'll be producing professional-grade garments that impress.