
If you run a small print shop, sell shirts online, or just want to put your own artwork on a hoodie without buying a screen press, you have probably run into dtf transfers. The process gets talked about as if it were magic: print a design, press it, done. There is more to it than that, and understanding the middle steps is what separates a print that survives fifty washes from one that cracks on the second wear. This guide walks through how the method actually works, where it makes sense, and the small decisions that quietly determine quality.
What Actually Happens Inside a DTF Print
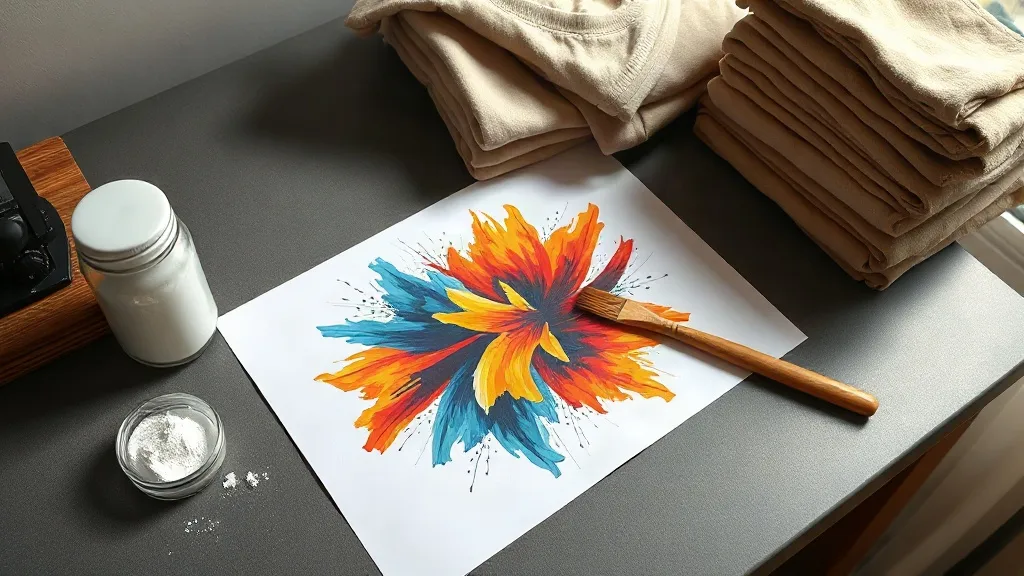
Direct-to-film is a two-part system. First, a printer lays down water-based pigment inks onto a special PET film, usually in reverse so the finished image reads correctly once transferred. Then the wet ink gets dusted with a hot-melt adhesive powder, shaken off, and cured under heat until the powder melts into the ink layer. That cured powder is the glue, and it is the reason the method works on cotton, polyester, blends, and even some nylons.
The transfer you hold in your hand is therefore not just ink. It is ink sitting on a thin thermoplastic adhesive film. When you press it, the adhesive softens, bonds to the fabric fibers, and the PET carrier peels away cold, leaving the design behind. Miss the powder step or under-cure it, and you get a print that feels plasticky and washes out fast.
Why the Powder Matters More Than the Printer
People obsess over printer brands, but in practice the adhesive powder and the curing step decide most of the durability. A cheap printer with well-cured powder will outlast an expensive printer with a sloppy powder job. The powder needs to be applied evenly, shaken thoroughly so no clumps remain, and cured at the temperature your supplier specifies, usually somewhere between 160 and 170 degrees Celsius for a couple of minutes. Over-curing makes the film brittle; under-curing leaves adhesive that never fully bonds.
Where DTF Fits and Where It Does Not
The appeal is obvious for anyone doing short runs. There is no screen to burn, no color separation, no minimum order, and photographic gradients come out cleanly because you are printing CMYK plus white rather than mixing spot colors. A one-off shirt costs the same per unit as the tenth shirt in a batch, which is a different economic model from screen printing.
That said, it is not a universal replacement. Here is a quick comparison of where it earns its place:
- Best fit: small batches, personalized names and numbers, full-color photo prints, dark garments, and mixed-fabric orders where you do not want to stock different supplies.
- Workable: mid-size runs where the slightly higher per-unit material cost is offset by zero setup time.
- Less ideal: very large runs, where screen printing or offset methods usually beat it on cost per piece, and garments with heavy stretch or coated water-repellent finishes that resist adhesion.
Stretch is worth calling out. A DTF print has limited elasticity, so on a very stretchy performance fabric it can feel stiff and may crack along fold lines. On standard cotton tees and hoodies, it behaves well.
Pressing Settings That Actually Work
Most transfer failures trace back to the press, not the print. Temperature, pressure, and peel timing each matter, and they interact. A few practical starting points:
- Pre-press the garment. Ten seconds of pressing removes moisture and wrinkles. Skipping this is the single most common cause of poor adhesion.
- Press at 150 to 160 degrees Celsius for 10 to 15 seconds with firm, even pressure. Thin films need less time; thicker ones need a little more.
- Peel cold. Let the garment cool for a few seconds before pulling the carrier film. Warm peeling distorts fine detail and stretches the adhesive.
- Post-press with a cover sheet for five seconds to lock the edges down and improve the hand feel.
Pressure is the variable people underestimate. If your press has a pressure gauge, aim for a firm, consistent press where the platens close fully without forcing. Uneven pressure shows up as patchy adhesion on larger designs, especially near the edges of the platen.
Getting the White Layer Right
On dark shirts, a white underbase is what makes colors pop. Too little white and the design looks muddy; too much and the print feels like a plastic patch. Most modern dtf films let you control white density in the rip software. Start moderate, press a test, and adjust. A slightly thinner white layer with a good post-press usually feels better than a heavy white layer pressed once.
Sourcing Transfers Without Wasting Money
You have two routes: print in-house or buy pre-printed transfers. In-house gives you control and same-day turnaround, but it means a printer, a shaker, a curing oven, and the learning curve that comes with all three. Buying transfers removes the equipment cost entirely and suits people who print occasionally or want to test a design before committing.
If you are searching for dtf transfers near me, pay attention to a few things before ordering. Ask about turnaround time and whether gang sheets are available, since combining several small designs on one sheet cuts cost significantly. Check whether the supplier cures with a proper oven rather than a heat gun, and request a sample if you are ordering in volume. A supplier who cannot tell you their powder and curing specs is a risk.
Storage and Handling
Transfers are not indestructible. Store them flat, away from humidity and direct heat, and use them within a few months of receiving them. Film that has absorbed moisture from a damp room will press poorly no matter what settings you use. If you live somewhere humid, a sealed bag with a desiccant pack is cheap insurance.
Wash Durability: Setting Honest Expectations
A well-pressed DTF print on cotton typically survives dozens of wash cycles without meaningful fading, though the hand feel stiffens slightly over time. The failure modes are predictable: cracking along sharp folds, edge lifting on garments washed inside out with heavy items, and color bleed if washed hot. Washing cold, inside out, and tumble drying low or hanging to dry will noticeably extend life.
Be skeptical of anyone promising a print that never cracks. Fabric flexes, and any ink layer on top of it will eventually show wear. What you can control is how slowly that happens.
Frequently Asked Questions
Can I use DTF transfers on 100 percent polyester?
Yes, and it often works better than on cotton because the adhesive bonds well to synthetic fibers. The main caution is heat: polyester can scorch or glaze at higher temperatures, so press toward the lower end of the range and use a cover sheet.
How long do unused transfers last?
Stored flat in a cool, dry place, most transfers remain usable for six months or more. Humidity is the real enemy, so keep them sealed if your workspace is damp.
Do I need a commercial heat press?
For occasional personal use, a quality clam press works fine. For anything resembling a business, a swing-away press with consistent pressure control will save you a lot of reprints and frustration.
Why is my transfer peeling at the corners?
Usually it is insufficient pressure at the edges, a garment that was not pre-pressed, or peeling while the print was still warm. Check all three before assuming the film is faulty.
Is DTF cheaper than screen printing?
For small runs, almost always yes, because there is no setup cost. Past a few dozen identical pieces, screen printing usually wins on cost per unit. The crossover point depends on your design complexity and local pricing.