
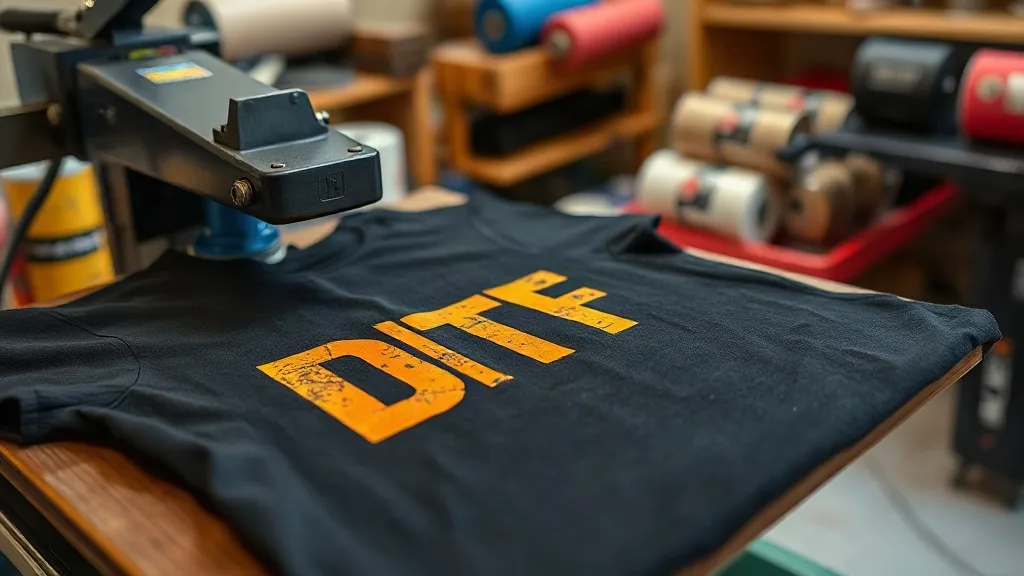
You have your design ready, the printer is humming, and the powder is cured. But the final step, pressing the transfer onto the garment, is where many DTF printers stumble. Even with perfect prints, improper pressing can ruin the outcome. In this guide, we'll dive deep into the art and science of pressing dtf transfers to achieve flawless, durable results that impress customers and stand up to wear.
Why Pressing Matters for DTF Transfers
DTF transfers rely on a thermoplastic adhesive powder that melts and bonds to the fabric under heat and pressure. The press is the tool that activates this bond. If the temperature is too low, the adhesive won't fully melt, leading to poor wash durability. Too high, and you risk scorching the fabric or causing the transfer to become glossy or distorted. Pressure ensures even contact between the transfer and the fabric, while time allows the adhesive to flow and penetrate the fibers. Mastering these variables is key to consistent quality.
The Three Pillars: Temperature, Pressure, and Time
Every pressing job revolves around these three factors. Let's break down each one and how to dial them in for different scenarios.
Temperature: The Heat That Bonds
Most DTF transfers require a press temperature between 300°F and 330°F (150°C to 165°C). However, the ideal temperature depends on the fabric and the transfer itself. For cotton and blends, 320°F is a safe starting point. For polyester, lower temperatures around 300°F help prevent dye migration and scorching. Always preheat the garment for a few seconds to remove moisture and wrinkles, which can interfere with adhesion.
Use a reliable heat press with accurate temperature control. Infrared thermometers can help verify the platen temperature, as dials can be off. If you're using a home iron, don't expect professional results; invest in a proper press for consistency.
Pressure: Even Contact for Strong Adhesion
Pressure ensures the transfer makes full contact with the fabric, allowing the adhesive to bond uniformly. Medium pressure is typically sufficient for DTF. Too little pressure results in poor adhesion, while excessive pressure can cause the transfer to flatten and lose its texture, or even squeeze out adhesive, leading to a mess. Adjust your press according to the fabric thickness: thicker fabrics like hoodies may need slightly more pressure than thin t-shirts.
Check your press's pressure mechanism regularly. A pneumatic press offers consistent pressure, while manual presses require careful adjustment. Test with a pressure gauge or by pressing a piece of paper: it should leave a faint, even mark.
Time: The Duration of the Press
Press time for DTF transfers usually ranges from 10 to 15 seconds. This allows the adhesive to melt and flow into the fabric. For thicker fabrics or multiple layers, you might extend to 20 seconds. However, longer times increase the risk of scorching, especially on heat-sensitive materials. Always follow the transfer supplier's recommendations, as formulations vary.
After pressing, wait for the transfer to cool completely before peeling the film. This cooling period, often called cold peel, is crucial for DTF. Peeling while hot can cause the design to stretch or the adhesive to string. Some transfers are hot peel, but most DTF transfers are cold peel. Check your supplier's instructions.
Step-by-Step Pressing Process
Follow this sequence for reliable results:
- Preheat the garment: Press for 5-10 seconds to remove moisture and wrinkles. This also helps the fabric accept the transfer.
- Position the transfer: Place the transfer on the garment with the printed side up (adhesive side down). Use heat-resistant tape if needed to secure it.
- Press: Apply medium pressure for 10-15 seconds at the recommended temperature.
- Cool: Remove the garment from the press and let it cool completely (about 30 seconds to a minute).
- Peel: Slowly peel the film from one corner. If the design lifts, press again for a few seconds.
- Post-press (optional): For extra durability, cover with a Teflon sheet or parchment paper and press for another 5 seconds. This ensures the adhesive fully penetrates.
Common Pressing Mistakes and How to Avoid Them
Even experienced printers make mistakes. Here are the most common pitfalls and their fixes:
- Insufficient pressure: The transfer peels off after washing. Solution: Increase pressure and ensure even contact.
- Too much pressure: The design looks flat and loses detail. Solution: Reduce pressure and use a softer platen.
- Wrong temperature: Scorching or poor adhesion. Solution: Use an infrared thermometer to verify temperature and adjust.
- Peeling too soon: The design stretches or adhesive strings. Solution: Wait for complete cooling before peeling.
- Uneven pressure: Part of the design fails to adhere. Solution: Check press alignment and adjust pressure uniformly.
Choosing the Right Press for Your Shop
Your press is an investment. For small shops, a clamshell press is affordable and space-saving. For higher volume, a swing-away or pneumatic press offers better control and durability. Look for features like digital temperature and time controls, and a pressure gauge. Brands like Hotronix, Geo Knight, and Stahls' are popular among professionals. If you're just starting, consider a used press from a reputable dealer, but ensure it's in good condition.
Troubleshooting Pressing Issues
If you encounter problems, here's a quick troubleshooting guide:
- Transfer not sticking: Increase pressure, temperature, or time. Check that the garment is preheated and dry.
- Design cracking: Could be due to insufficient pressure or cooling too quickly. Allow gradual cooling.
- Adhesive residue on film: Too much pressure or temperature. Reduce both and try again.
- Color fading after wash: Likely insufficient adhesion. Ensure proper post-press.
For more detailed guidance on dtf printing, explore our resources.
Frequently Asked Questions
Can I use a home iron to press DTF transfers?
While possible, it's not recommended. Home irons lack consistent pressure and temperature control, leading to unreliable results. Invest in a heat press for professional quality.
How do I prevent scorching on polyester?
Use a lower temperature (around 300°F) and a Teflon sheet or parchment paper between the press and the transfer. Also, preheat the fabric to remove moisture, which can cause uneven heating.
What's the best way to store pressed garments?
Allow garments to cool completely before folding. Store in a cool, dry place away from direct sunlight to prevent the adhesive from softening.
Why does my transfer look glossy after pressing?
Glossiness often indicates too much heat or pressure. Reduce temperature and pressure, and ensure you're using the correct settings for the fabric.
How long should I wait before washing a pressed garment?
Wait at least 24 hours to allow the adhesive to fully cure. Wash inside out in cold water and tumble dry low to prolong the life of the print.
Mastering the press is a journey, but with practice and attention to detail, you'll achieve flawless dtf transfers near me that keep customers coming back. Remember, consistency is key: document your settings for each fabric type and stick to them.