
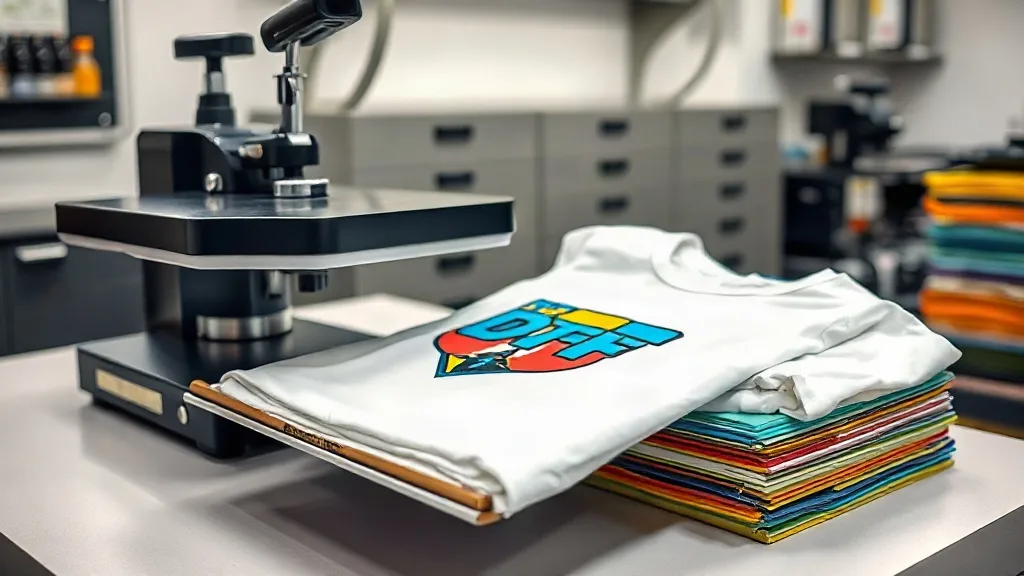
Applying dtf transfers might seem straightforward, but the difference between a print that lasts and one that peels often comes down to the details. Whether you're decorating a single shirt for a special occasion or running a small batch for your shop, understanding the nuances of heat application, fabric compatibility, and post-press care can elevate your results from amateur to professional. In this guide, we'll walk you through each step of the process, sharing insights that only come from hands-on experience.
What Are DTF Transfers and Why They Matter
DTF, or Direct to Film, is a printing method where designs are printed onto a special film and then transferred to fabric using heat and pressure. Unlike DTG or screen printing, DTF works on a wide range of materials, including cotton, polyester, blends, and even some nylons. The dtf process involves printing a design onto a PET film with a release agent, applying a powder adhesive, and then curing it. When you're ready to apply, you simply place the transfer on your garment and press. The result is a soft, stretchable print that holds up wash after wash.
Choosing the Right DTF Transfer for Your Project
Not all DTF transfers are created equal. The quality of the film, the ink, and the adhesive powder all affect the final outcome. When sourcing transfers, look for those with a consistent powder coating and vibrant colors. If you're searching for dtf transfers near me, you'll find options ranging from local print shops to online suppliers. For small businesses, building a relationship with a reliable supplier can save time and ensure consistent quality.
Step-by-Step Application Guide
Follow these steps to achieve a flawless application every time.
Step 1: Prepare Your Workspace and Materials
Before you begin, gather everything you need: your heat press, the DTF transfer, the garment, and a protective sheet (like parchment paper or a Teflon sheet). Ensure your heat press is clean and calibrated. A common mistake is skipping the calibration; even a few degrees off can affect adhesion. Use an infrared thermometer to verify the platen temperature.
Step 2: Preheat the Garment
Preheating removes moisture and wrinkles from the fabric, creating a smooth surface for the transfer. Set your press to the recommended temperature (usually around 300°F to 325°F) and press the garment for 5-10 seconds. This step is crucial for cotton and blends, as trapped moisture can cause bubbles or poor adhesion.
Step 3: Position the Transfer
Place the DTF transfer on the garment with the printed side facing up. If your transfer has a carrier film, ensure it's on top. Use heat-resistant tape to hold it in place if needed. For precise placement, especially on pockets or seams, consider using a laser alignment system or simply measure twice.
Step 4: Apply Heat and Pressure
Set your press to medium pressure (around 40-60 PSI) and press for 10-15 seconds. The exact time depends on the transfer size and fabric. For larger designs, you might need to press in sections to avoid uneven adhesion. Avoid over-pressing, which can cause the film to curl or the adhesive to bleed.
Step 5: Peel the Carrier Film
Wait a few seconds for the transfer to cool slightly, then peel the carrier film in a smooth, steady motion. If the design starts to lift, press again for a few more seconds. For a matte finish, you can do a second press with a protective sheet for 5 seconds.
Step 6: Post-Press Care
Allow the garment to cool completely before folding or wearing. Wash inside out in cold water and avoid fabric softeners, which can break down the adhesive over time. Tumble dry low or hang dry for best results.
Common Mistakes to Avoid
- Incorrect temperature: Too low and the adhesive won't activate; too high and the film may scorch.
- Uneven pressure: This leads to partial adhesion. Ensure your press is level and apply consistent pressure.
- Peeling too soon: Let the transfer cool for a few seconds before peeling to avoid stretching the design.
- Ignoring fabric type: Some fabrics, like nylon, require lower temperatures. Always test on a scrap piece first.
Fabric Compatibility and Best Practices
DTF transfers adhere well to cotton, polyester, and blends, but each fabric has its quirks. Cotton requires a slightly higher temperature for optimal adhesion, while polyester can be sensitive to high heat. For stretchy fabrics, choose a transfer with a flexible adhesive. Always perform a wash test on a sample to ensure durability.
SSS
How long do DTF transfers last?
With proper application and care, DTF transfers can last as long as the garment itself, often 50+ washes without fading or cracking.
Can I apply DTF transfers to dark fabrics?
Yes, DTF transfers work on both light and dark fabrics because they include a white ink base that makes colors pop.
What if I don't have a heat press?
While a heat press is recommended for consistent results, you can use a home iron on its highest setting with firm pressure. However, achieving professional-level durability may be challenging.
How do I store unused DTF transfers?
Store them in a cool, dry place away from direct sunlight. Keep them flat to prevent curling.
Can I layer DTF transfers?
Yes, you can layer multiple transfers, but press each layer separately and ensure the first layer is cool before adding the next.