
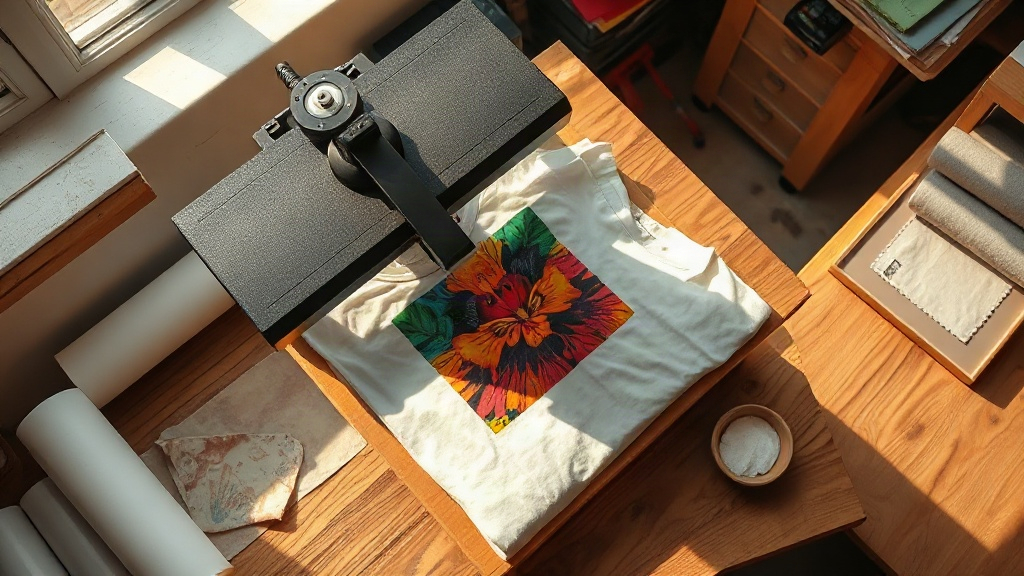
If you have spent any time in a print shop or a craft room lately, you have probably heard the term DTF Transfers come up in conversation. Direct-to-film printing has moved from a niche technique to a mainstream option for anyone who wants full-color graphics on fabric without the mess of screens or the limitations of vinyl. The appeal is simple: you can print a detailed, multi-color design on a desktop printer, apply it to a shirt, and get a result that holds up to washing. But the gap between a decent transfer and a great one usually comes down to understanding the process, not just owning the equipment.
This guide walks through what DTF transfers actually are, why they behave differently from other decoration methods, and the practical steps that separate a crisp, long-lasting print from one that cracks after three washes. Whether you are printing a handful of team shirts or building a small apparel brand, the details below will save you wasted film and ruined garments.
What Are DTF Transfers, Exactly?
A DTF Transfers sheet starts as a digital image printed onto a special PET film. The printer lays down CMYK inks plus a white ink layer, then a powdered hot-melt adhesive is applied to the wet ink. That powder is cured, and what you end up with is a flexible, transferable graphic sandwiched between film and adhesive. When you press it onto fabric, the adhesive melts into the fibers and the film peels away, leaving the ink bonded to the garment.
The key difference from DTG (direct-to-garment) printing is that the design is printed on film first, not directly onto the shirt. That extra step gives you more control over placement, lets you store transfers for later use, and opens up fabric options that DTG machines struggle with, such as polyester blends and nylon.
How the Ink and Adhesive Work Together
The white ink layer is what makes colors pop on dark garments. Without it, a red logo printed on a black shirt would look muddy and dull. The adhesive powder is equally important because it determines how well the print stretches and bends with the fabric. A light, even coating of powder produces a soft hand feel. Too much powder and the print feels rubbery and stiff.
Getting this balance right is where most beginners struggle. It is worth pressing a few test prints on scrap fabric before committing to a full order, especially if you are using a new powder or film brand.
Why DTF Transfers Have Become So Popular
There are practical reasons this method has taken off, and they go beyond the quality of the final print.
- No color limits. Unlike screen printing, you are not paying for each additional color. A ten-color design costs the same as a one-color design.
- Works on tricky fabrics. Cotton, polyester, blends, canvas, and even some treated nylon hold DTF prints well.
- Low setup cost. There is no screen burning, no minimum order, and no need for a dedicated dark-garment underbase.
- Storage friendly. Printed transfers keep for months if stored away from moisture and direct sunlight, so you can print when you have time and press when orders come in.
- Detail retention. Fine lines, gradients, and small text survive the process far better than they do with vinyl cutting.
For a one-person shop, that combination means you can offer custom apparel without investing in a screen printing setup or outsourcing every job.
Step-by-Step: Pressing DTF Transfers Correctly
The pressing stage is where most problems appear. Temperature, pressure, and time all matter, and small changes can shift the outcome noticeably. Here is a reliable starting point you can adjust from.
1. Prepare the Garment
Pre-press the shirt for a few seconds to remove moisture and wrinkles. Moisture trapped under the transfer turns to steam during pressing and creates bubbles in the adhesive. If you skip this step, you will often see a hazy, uneven finish.
2. Position and Press
Place the transfer with the adhesive side down against the fabric. Set your heat press to roughly 300 to 320 degrees Fahrenheit and apply medium to firm pressure for 10 to 15 seconds. The exact numbers vary by film brand, so check the manufacturer's recommendation first. Too little pressure and the adhesive will not fully penetrate the fibers. Too much and the design can spread or lose detail.
3. Peel While Warm or Cold
Most DTF films today are cold peel or warm peel. Cold peel means you wait until the transfer cools completely before removing the film, which usually gives a cleaner edge on detailed designs. Warm peel lets you remove the film shortly after pressing while it is still hot. Follow the film's instructions, because peeling at the wrong temperature can pull up fine lines or leave adhesive residue.
4. Post-Press for Durability
A second press of 5 to 10 seconds with a cover sheet or parchment paper helps the adhesive settle and improves wash resistance. This step is easy to forget, but it makes a real difference over the life of the garment.
Common Mistakes That Ruin DTF Prints
Even experienced printers run into the same handful of issues. Knowing them ahead of time saves a lot of frustration.
- Under-curing the powder. If the adhesive is not fully melted, the print will flake off in the wash. The powder should look glossy and slightly wet before you press the transfer.
- Pressing on a damp shirt. Always pre-press. Steam is the enemy of a clean bond.
- Using the wrong pressure. A loose press leaves gaps in the adhesive; an overly tight press flattens the ink and blurs detail.
- Peeling too early. If your film is cold peel, resist the urge to check the print before it has cooled.
- Storing transfers badly. Humidity and heat degrade the adhesive. Keep them in a sealed bag in a cool, dry spot.
If you notice a print starting to lift at the edges after a few washes, the culprit is almost always incomplete curing or insufficient pressure during the initial press.
DTF Transfers vs. Other Decoration Methods
Choosing the right method depends on your fabric, your design, and your volume. Here is how DTF compares to the three most common alternatives.
Against Screen Printing
Screen printing still wins on cost per unit for large runs of simple designs. But for small batches, multi-color art, or orders with frequent design changes, DTF is faster and cheaper to set up. The trade-off is that DTF prints sit slightly on top of the fabric, while screen printing inks can feel more integrated.
Against Vinyl
Heat transfer vinyl works well for single-color text and simple shapes. It falls apart with gradients, photographs, or fine detail. DTF handles all of those without weeding, which is a significant time saver on complex artwork.
Against DTG
DTG prints directly onto cotton and produces a very soft finish. It struggles with polyester and dark garments without a pretreat step. DTF works across more fabric types and does not require pretreating, which makes it more forgiving for mixed orders.
Caring for DTF-Printed Garments
A good print can last for dozens of washes if the customer follows a few simple rules. Wash inside out in cold water, avoid fabric softener, and tumble dry on low or hang to dry. Ironing directly over the print will damage it, so if ironing is necessary, use a cloth barrier and low heat. Sharing these care instructions with customers reduces complaints and returns, and it protects the reputation of your work.
Frequently Asked Questions About DTF Transfers
Can DTF transfers be applied to 100% polyester?
Yes, and this is one of the method's biggest advantages. Polyester and polyester blends hold DTF prints well, though you should lower the press temperature slightly to avoid scorching the fabric. Test on a scrap piece first, since some polyester weaves are more heat-sensitive than others.
How long do DTF transfers last on a shirt?
With proper pressing and normal washing, a DTF print typically lasts as long as the garment itself. Cracking or peeling usually points to a pressing error rather than a limitation of the method. Correct temperature, even pressure, and a post-press step are the main factors in longevity.
Do I need a special printer for DTF transfers?
You need a printer that uses DTF-specific inks and supports a white ink channel, along with DTF film and adhesive powder. Some people convert existing printers, but dedicated DTF printers tend to produce more consistent results and require less maintenance.
What is the difference between warm peel and cold peel DTF film?
Warm peel film is removed shortly after pressing while still hot, which speeds up production. Cold peel film is removed after the transfer has cooled completely, which generally gives sharper edges on detailed or fine-line artwork. Always follow the film manufacturer's instructions, as the wrong peel timing can ruin an otherwise perfect press.
Can I layer DTF transfers for multi-color designs?
You can, but it is rarely necessary because DTF prints full color in a single pass. Layering is sometimes used for special effects or to combine a DTF print with vinyl, but each additional layer adds thickness and can reduce flexibility. For most designs, a single transfer is the better choice.